Rehab & Rum

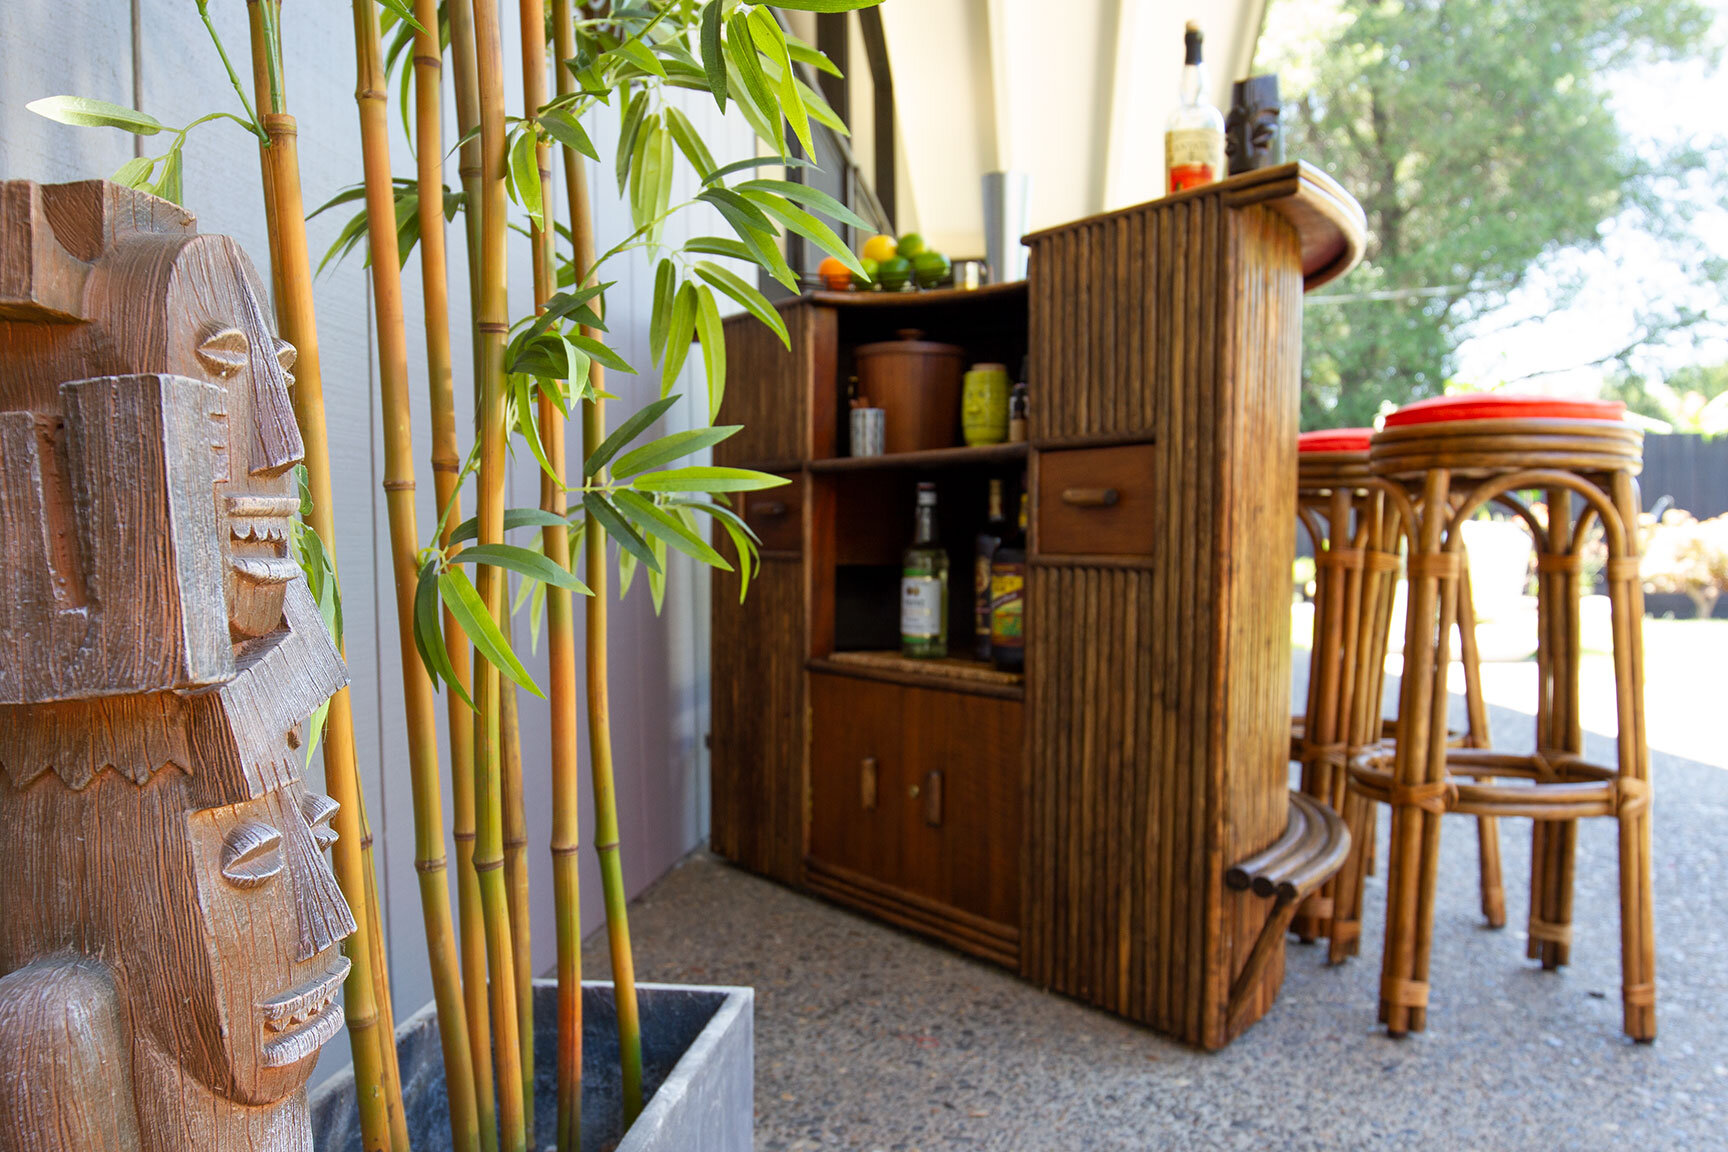
As the vision for the backyard continues to take shape over the course of the summer, the weather has been delightful, and more time is being spent outside. There’s nothing more refreshing than a tropical drink on a hot summer day, so when I happened upon this vintage tiki bar at a local shop, I knew it had a home on the back patio.
The style and construction lead me to believe this bar was made in the mid-to-late 1960s, though it does not have a maker’s mark. The overall condition of this piece was quite good, but with a few improvements and sprucing up needed. As one might expect from a bar of this age, the rattan was discolored, palm wood counters scratched, and barstools showing heavy wear. Despite the imperfections, the potential was easy to see, so the restoration was immediately underway.
A few words about rattan
Often mistaken for bamboo, rattan is a species of palm, native to southeast Asia. One major difference is that rattan is not hollow, but has an exterior skin and a dense core. It grows in humid, tropical climates, which make it very durable for outdoor use and moisture exposure. Although rattan is lightweight and easily bent, it can hold significant weight, making it ideal for furniture construction. With its native tropical origins and island aesthetic, it’s no wonder rattan has such a presence in tiki culture.
Elevated functionality
With the intent to make this bar an outdoor piece, I had a few goals in mind: 1) Make the bar last as long as possible and; 2) Easily move the bar as needed. The answer: Swivel casters! I installed a set of four 2-inch casters to keep the wood off the ground and from coming into contact with water. These also allow the bar to be moved to a different location for various party set-ups, or into storage during winter months.
“...a strong bond for the rattan stalks as well as an authentic vintage look.”
Bound to be original
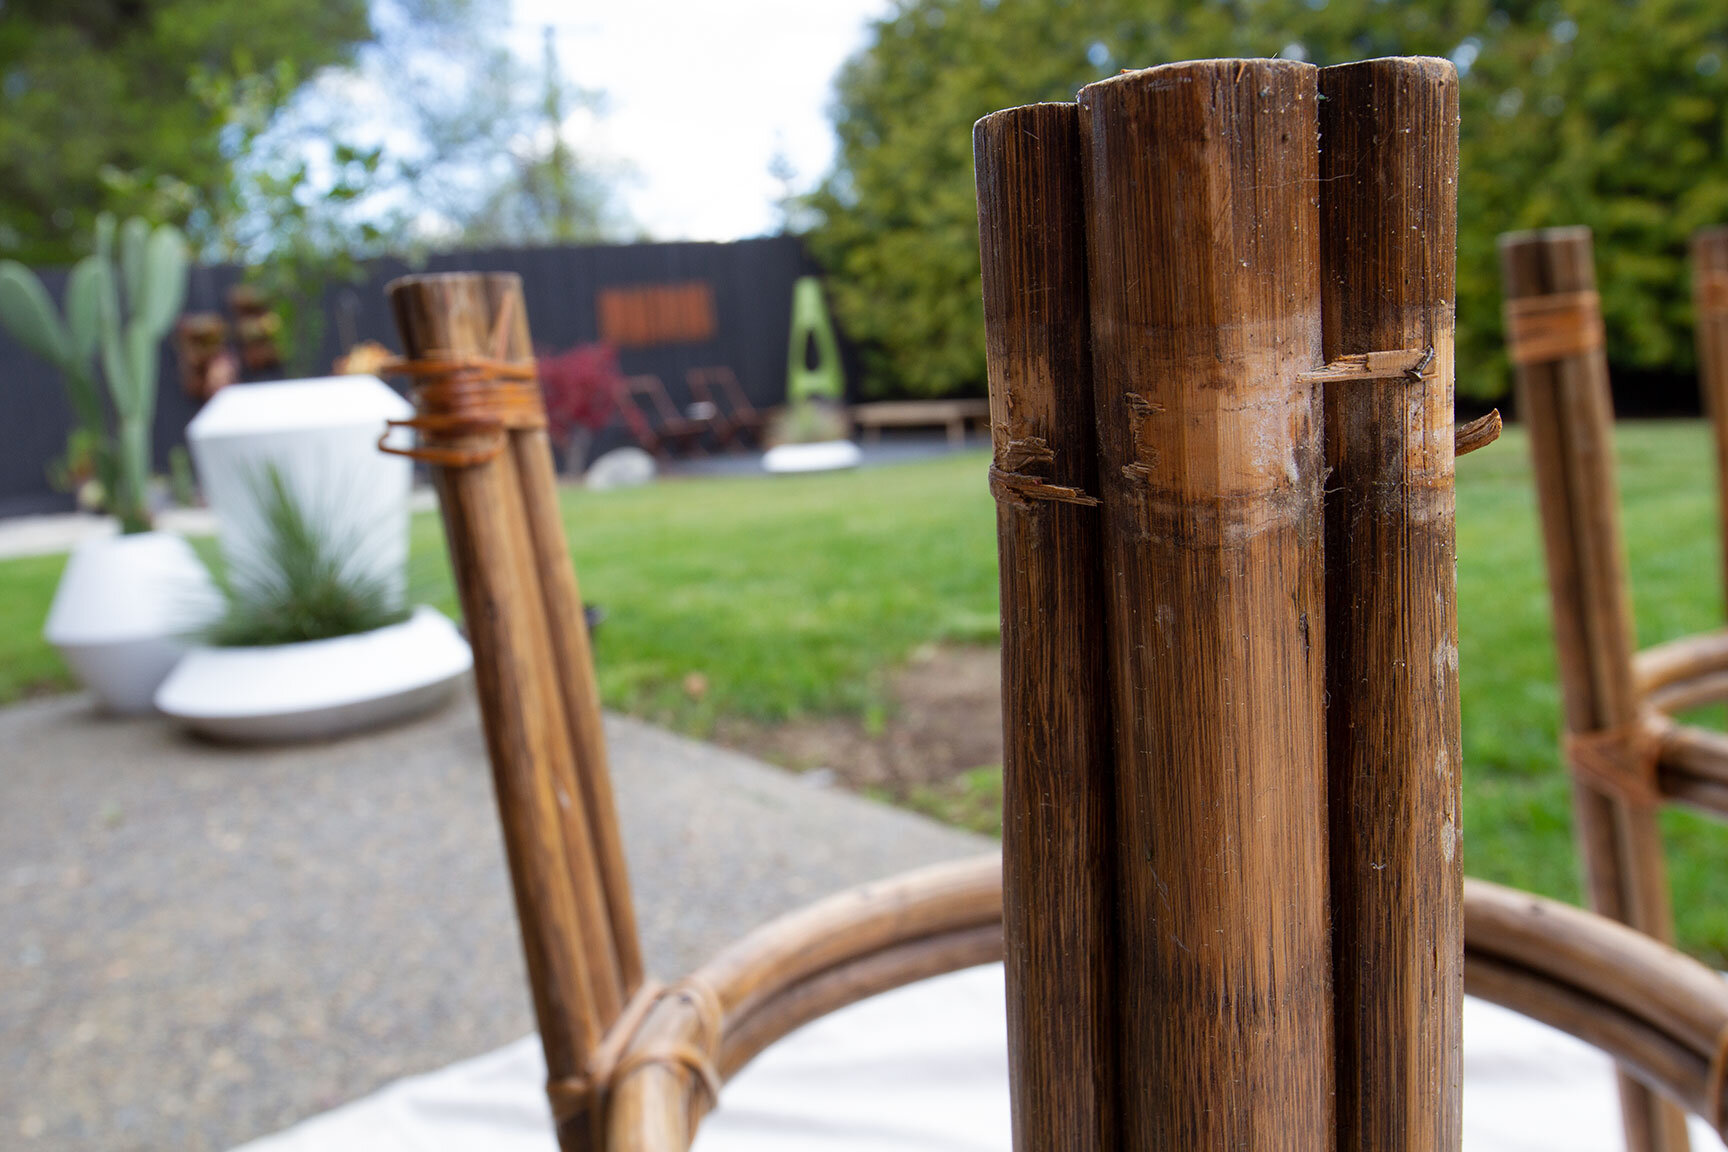
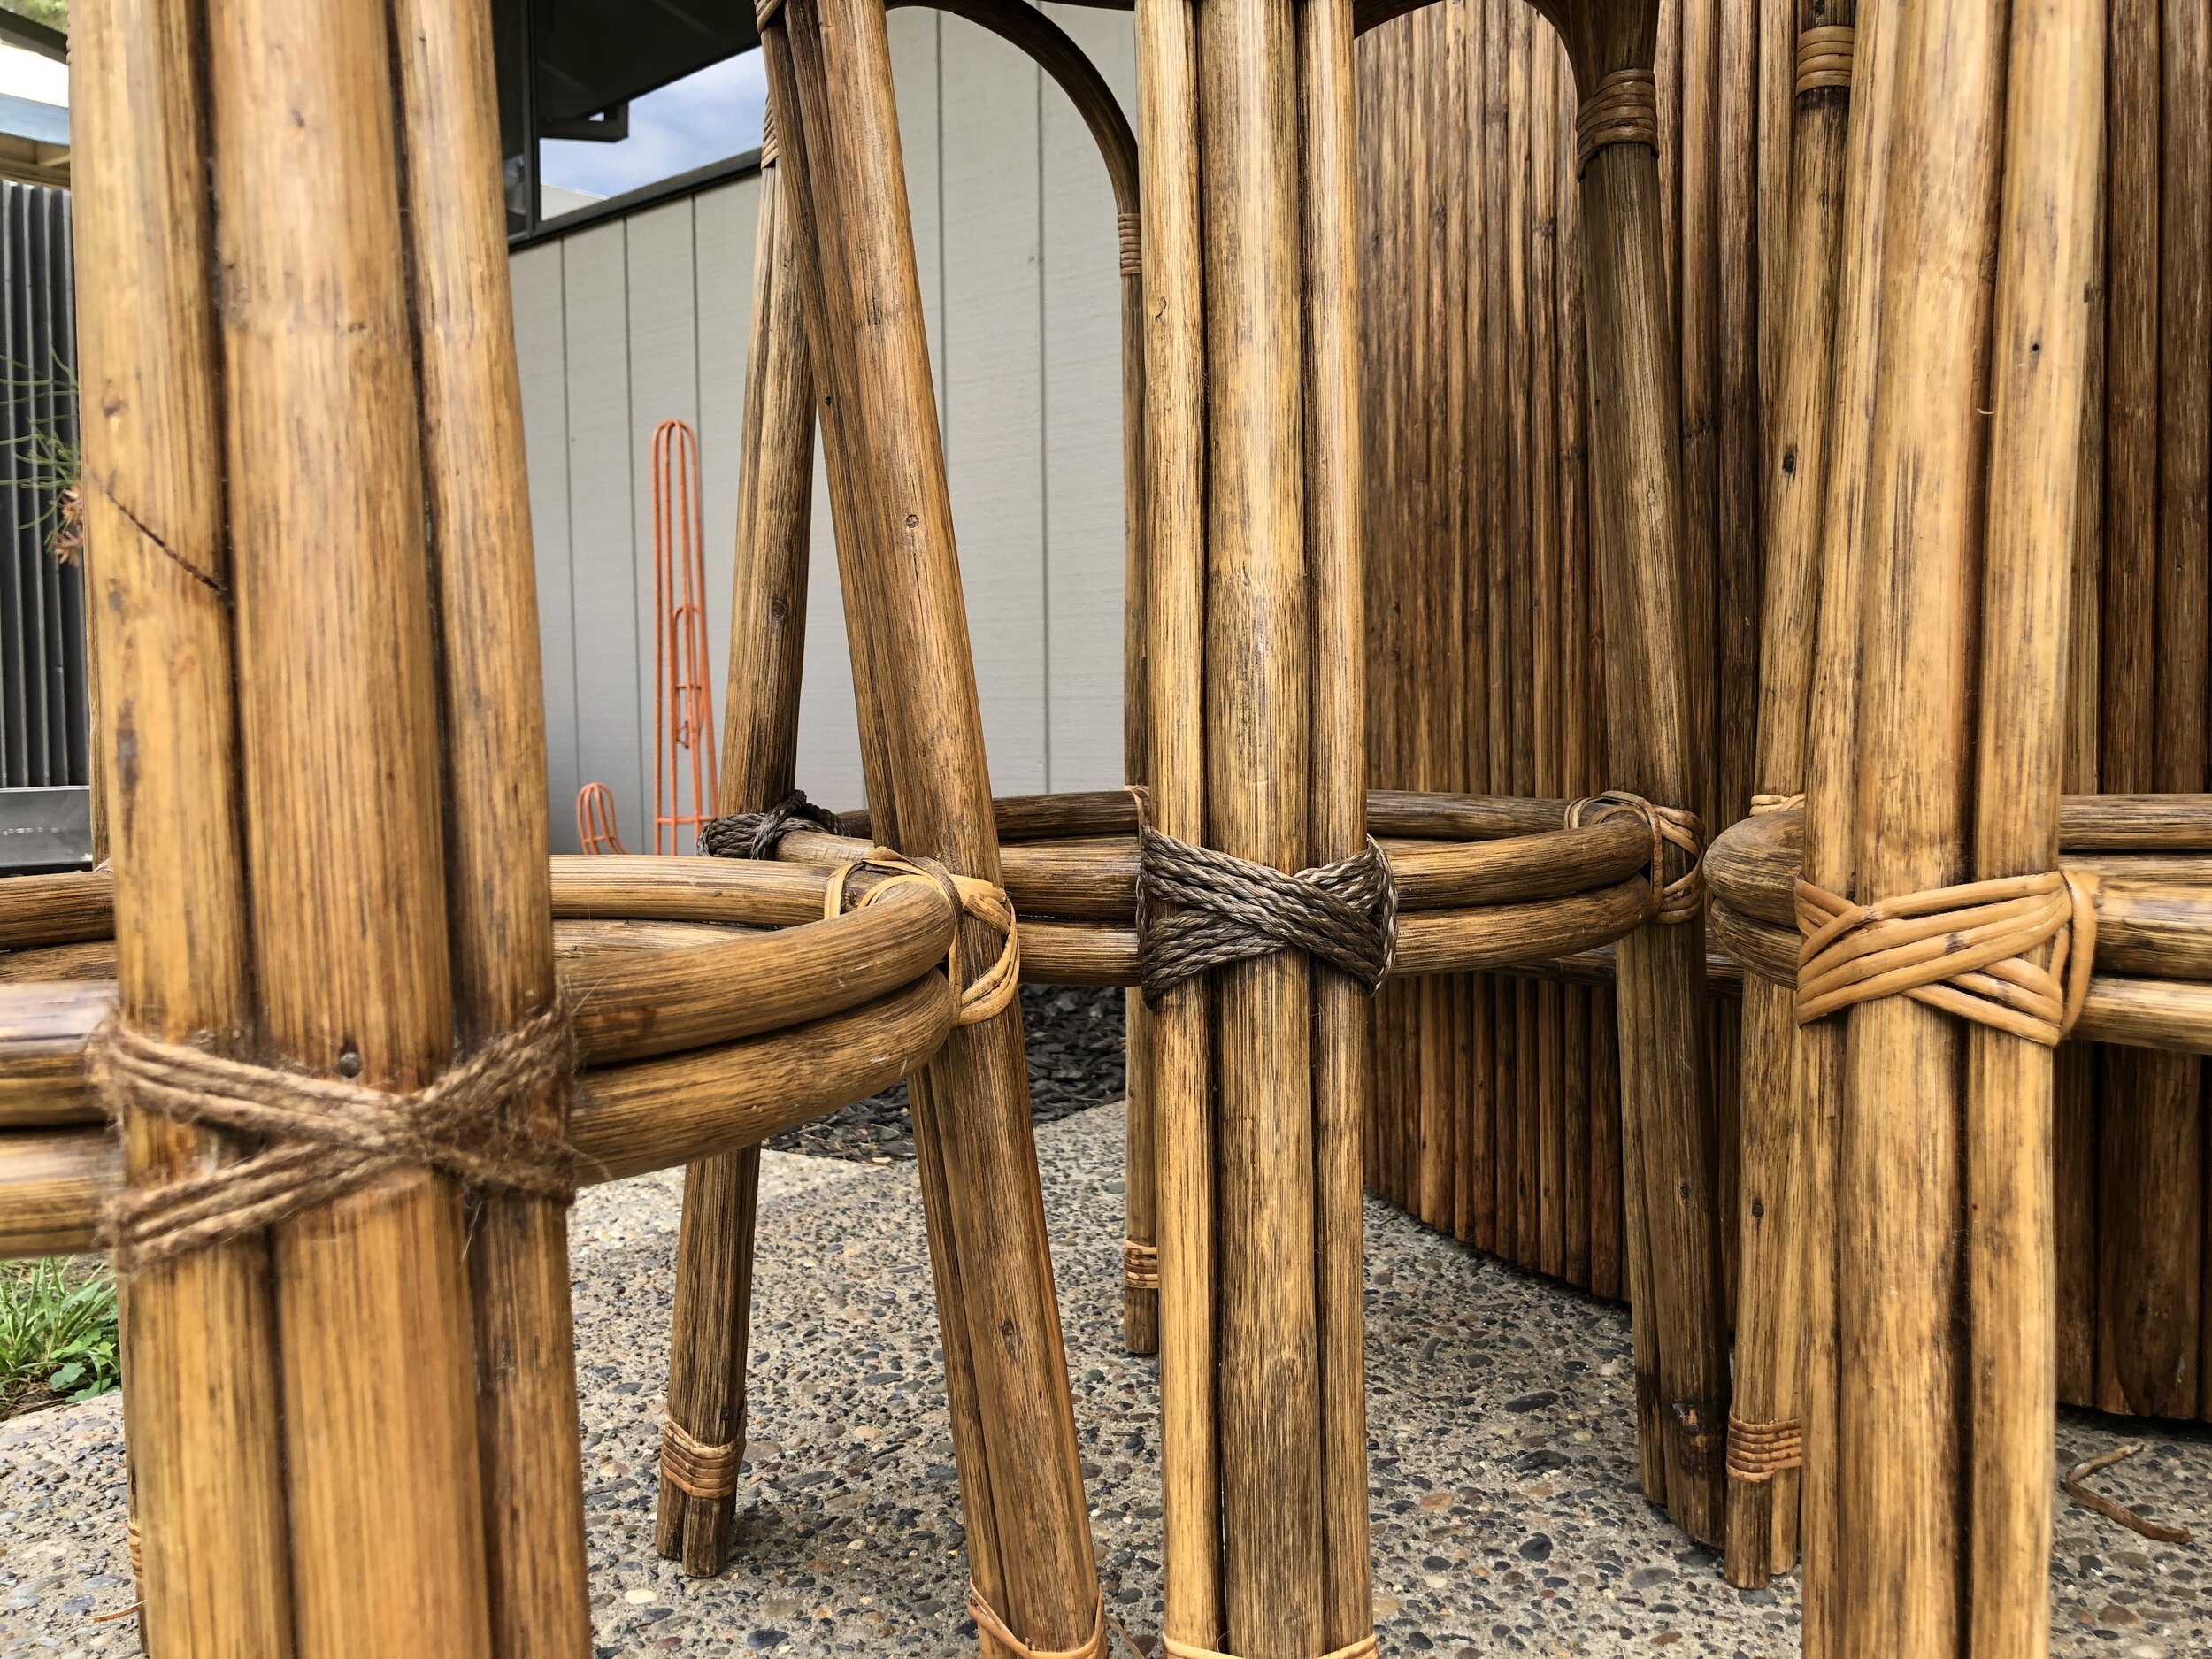
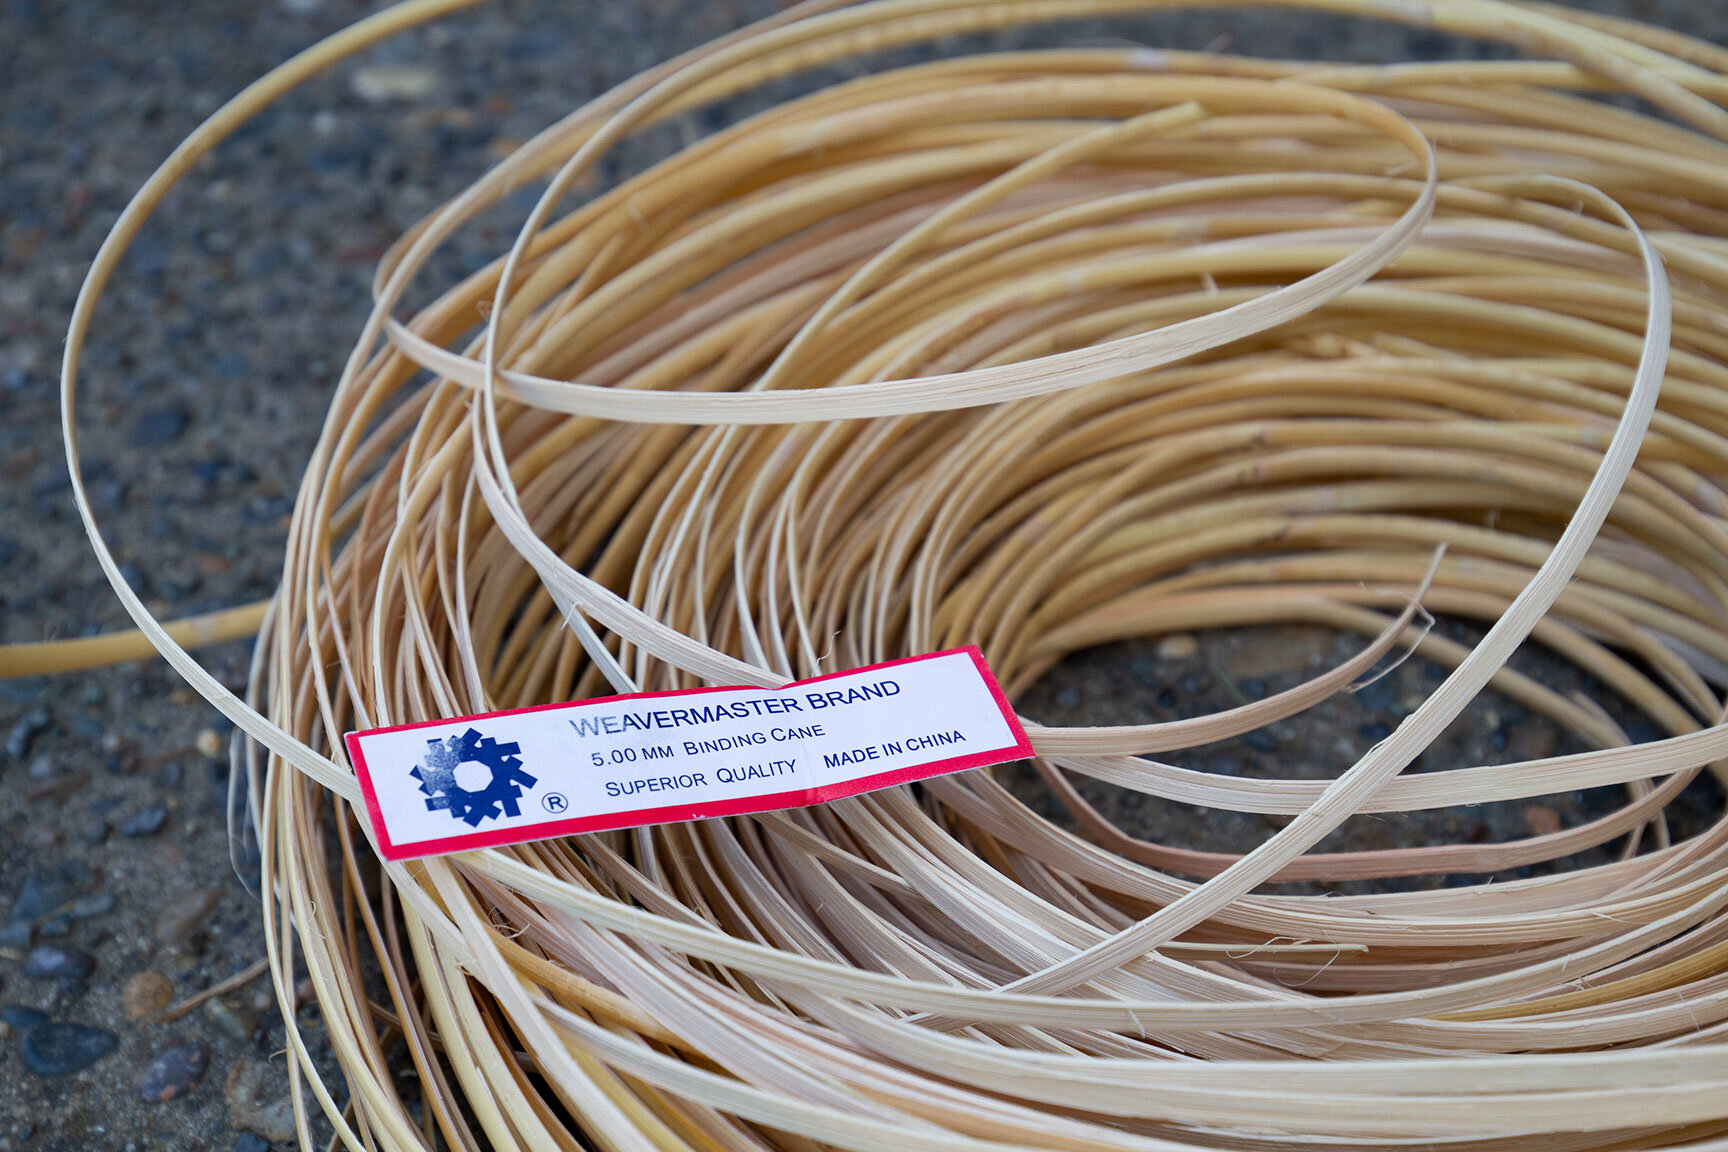
Of all the pieces that needed rehab, the barstools were in the worst shape. The binding cane on many of the legs was brittle, broken, or missing entirely. These areas were beyond salvage, so when it came to replacement, I explored a few options. These included nylon rope, various widths of jute twine, hemp cord, and binding cane. I experimented with a few of the alternatives, thinking there might be a material that would have better longevity and weather resistance. However, it was without question the original binding cane was the right decision as it offered a strong bond for the rattan stalks as well as an authentic vintage look. And so, the re-caning process began.
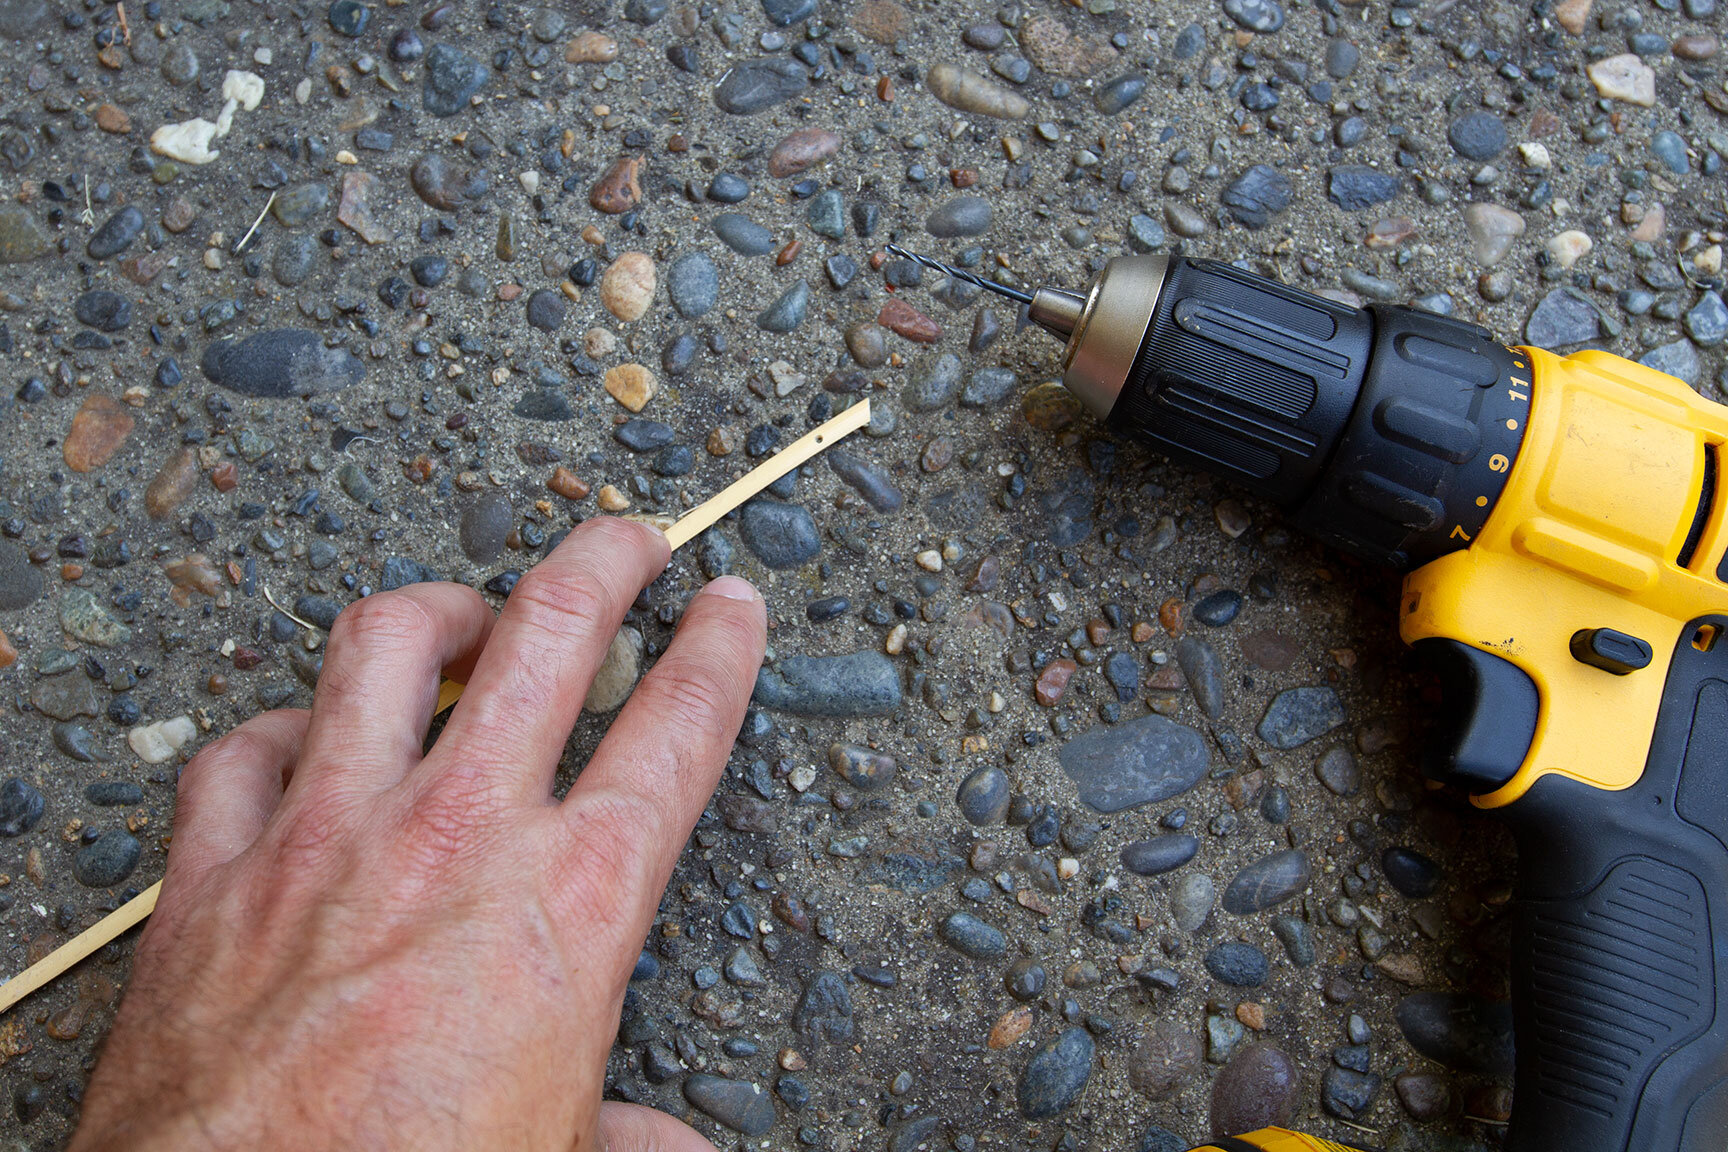
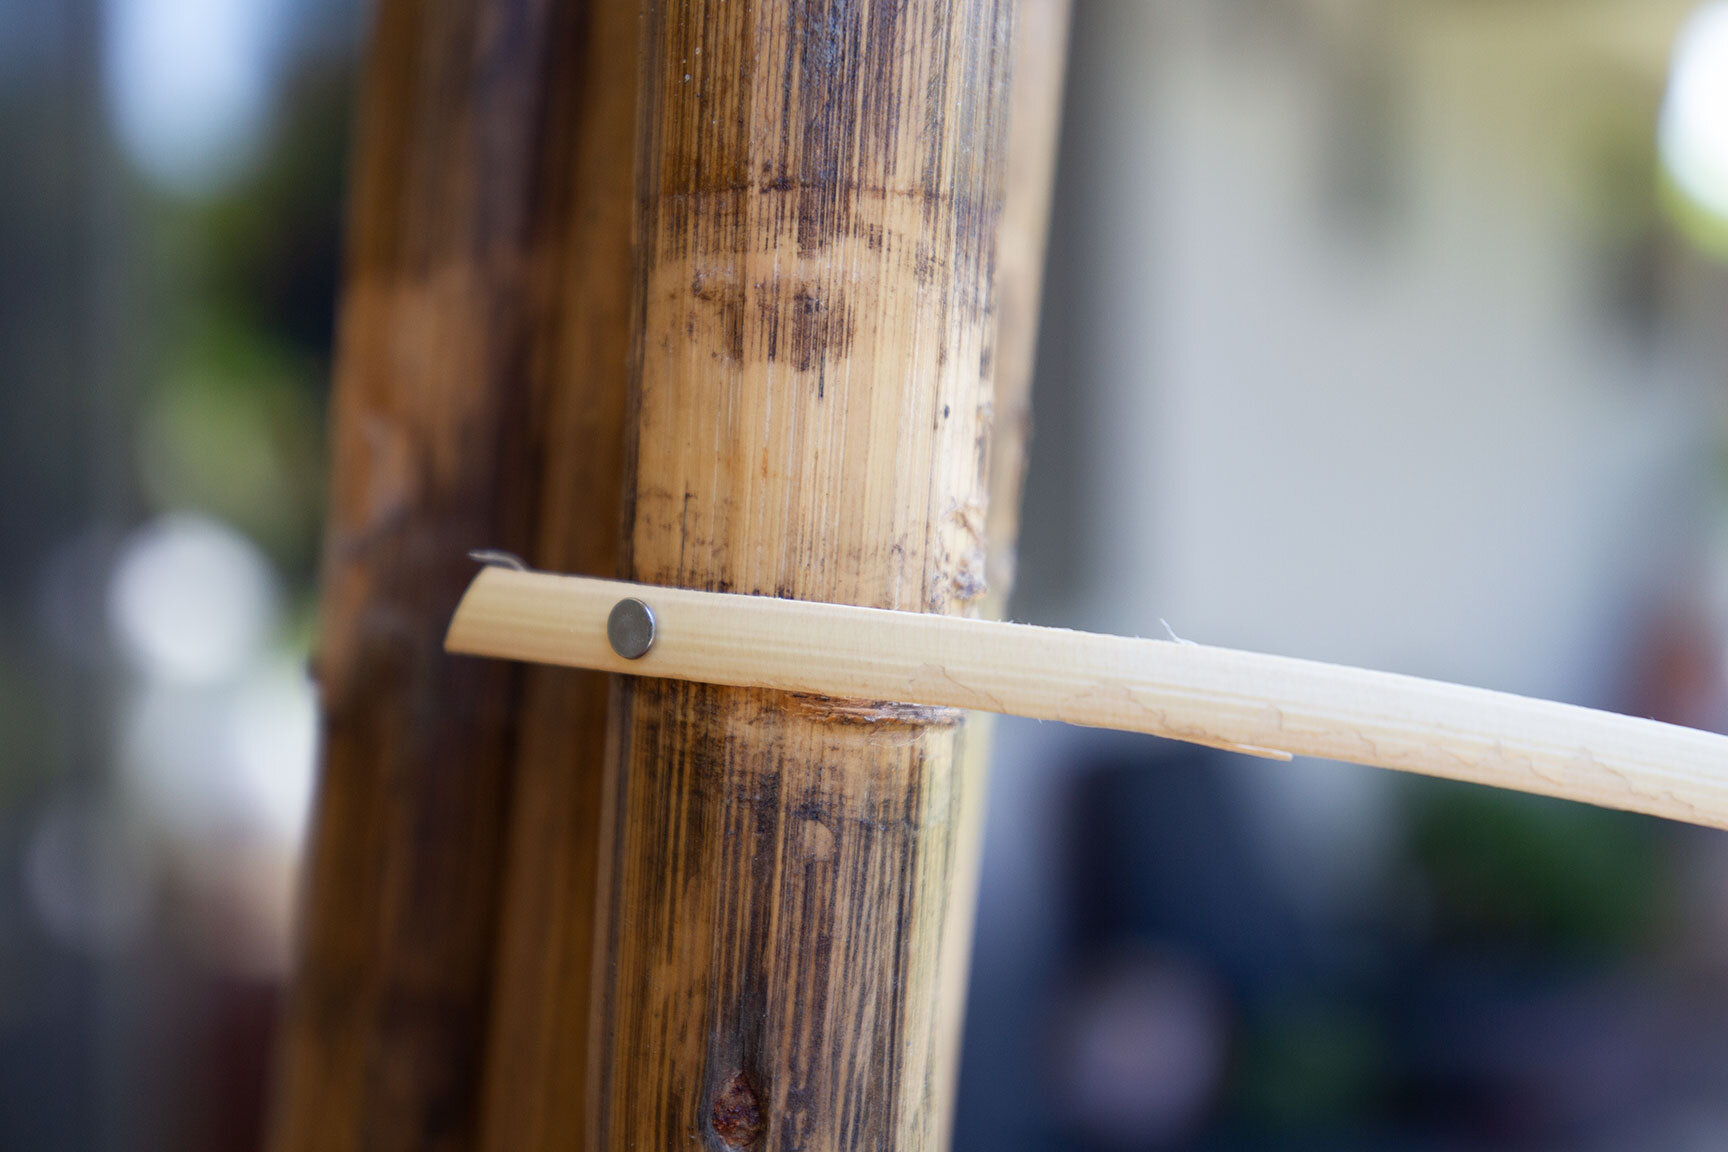
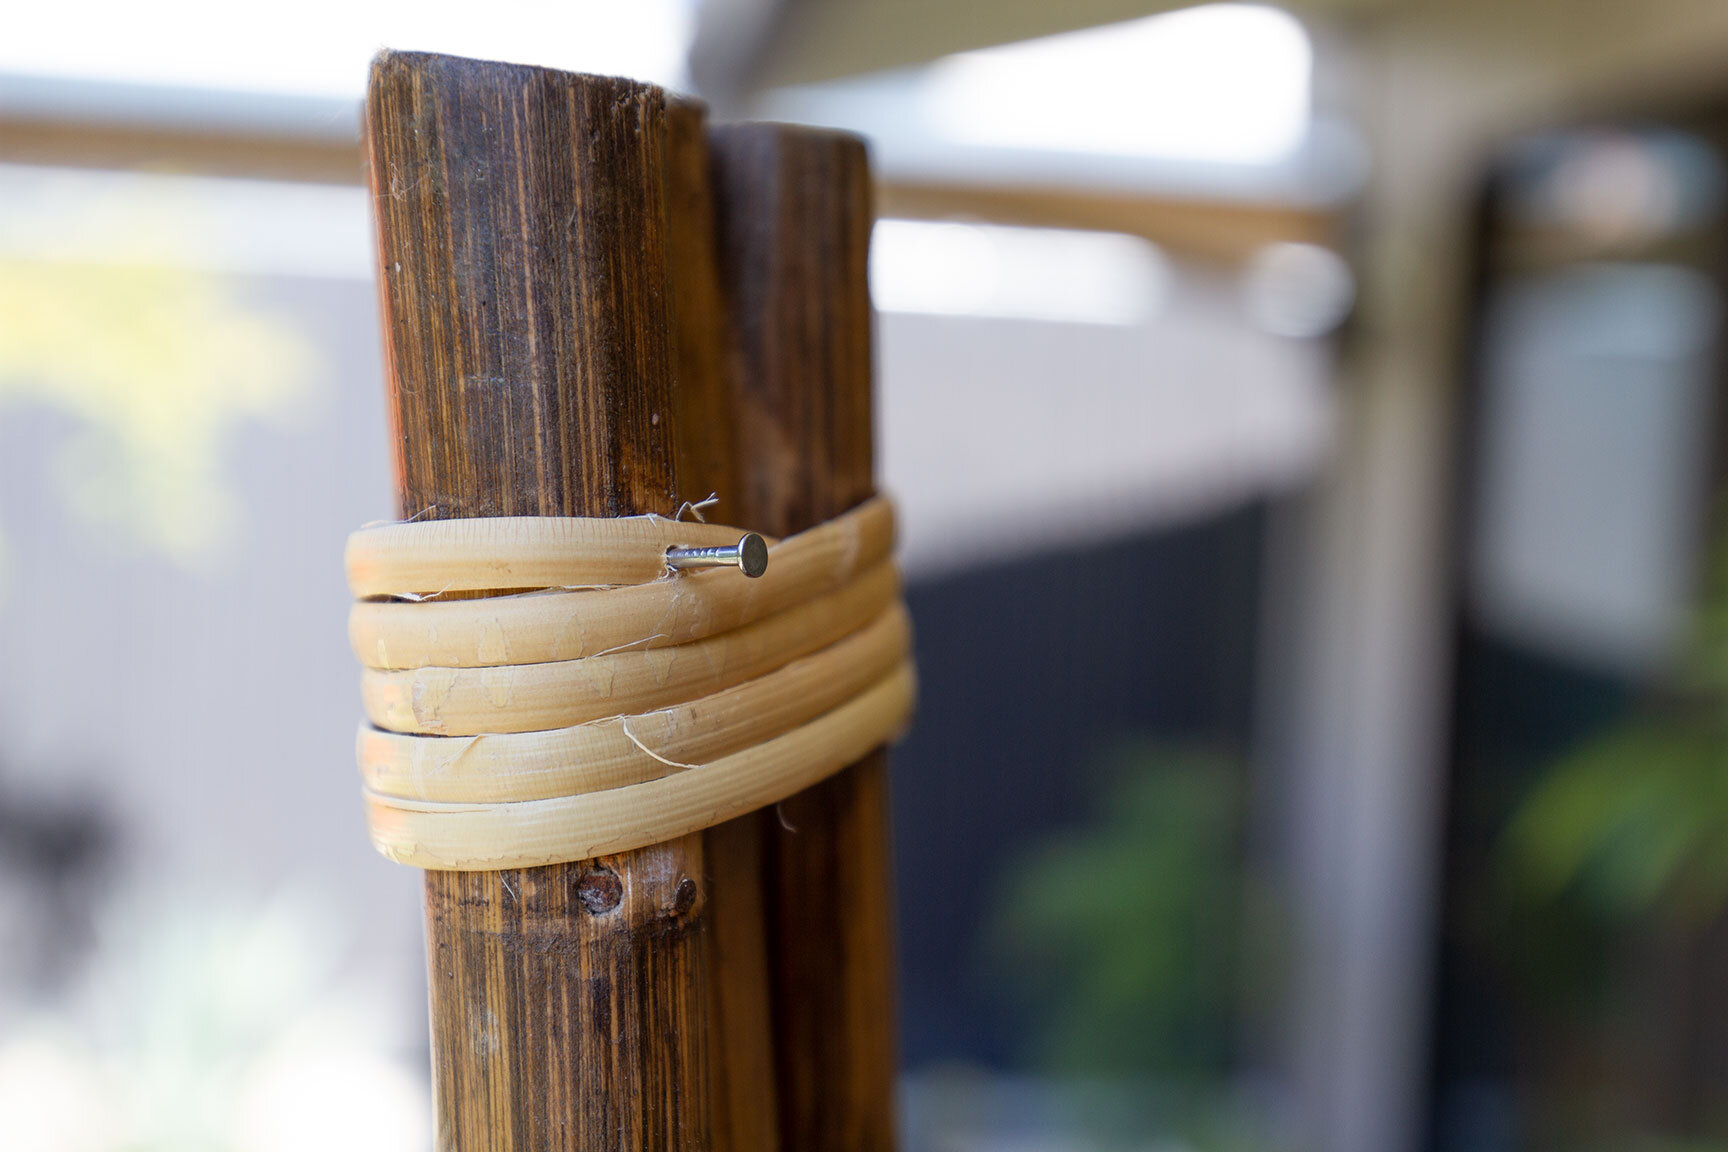
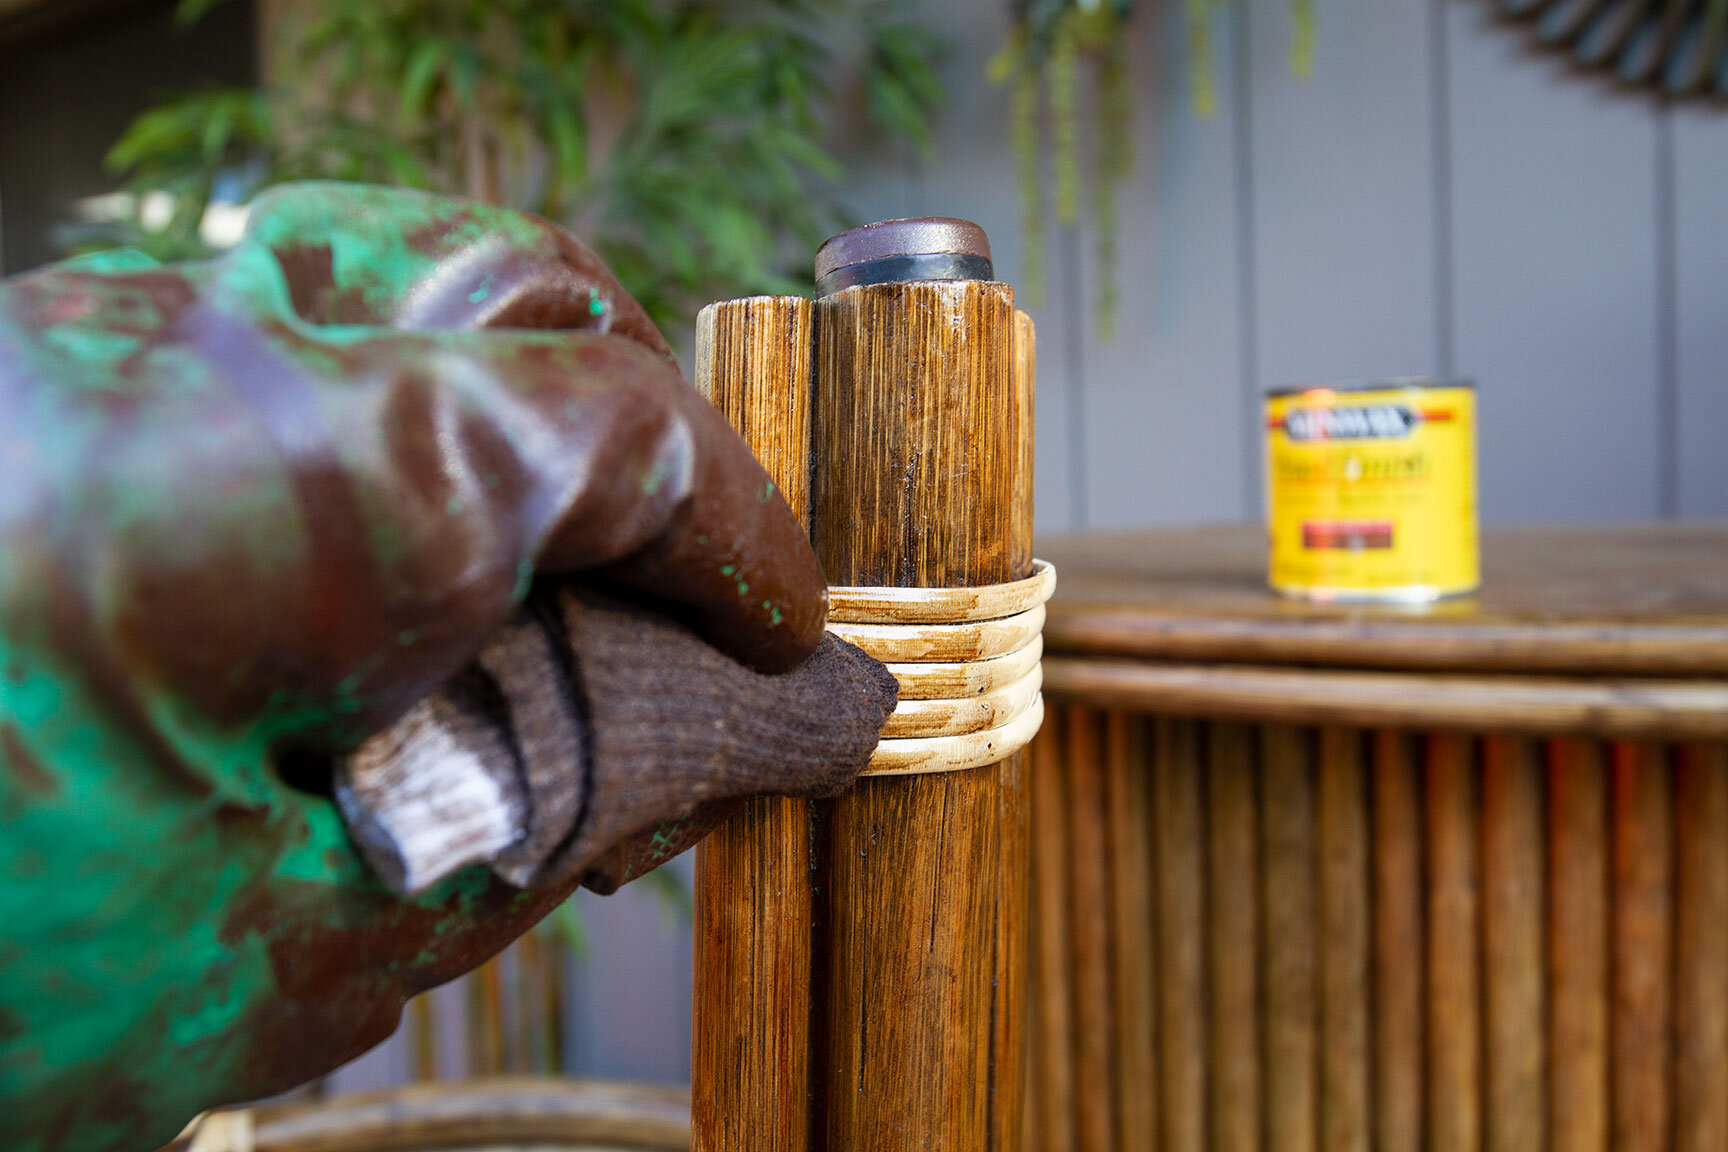
Broken caning was removed as needed, and the rattan cleaned. This cane is just 3/16” wide, so attaching it to the stools required some delicate actions. I drilled a small pilot hole (slowly) into one end of the cane, then a small pilot hole into stool leg at the starting point of the wrap. I then lightly tacked the cane to the stool by tapping in a 7/8” wire nail. Had I just hammered the wire nails directly into the cane, it would have split, so this was an important step. I wrapped the cane around the legs, taking special note of the same wrapping pattern and quantity of lines in the original design. Another pilot hole was drilled into the end of the cane, then tucked and tacked into place.
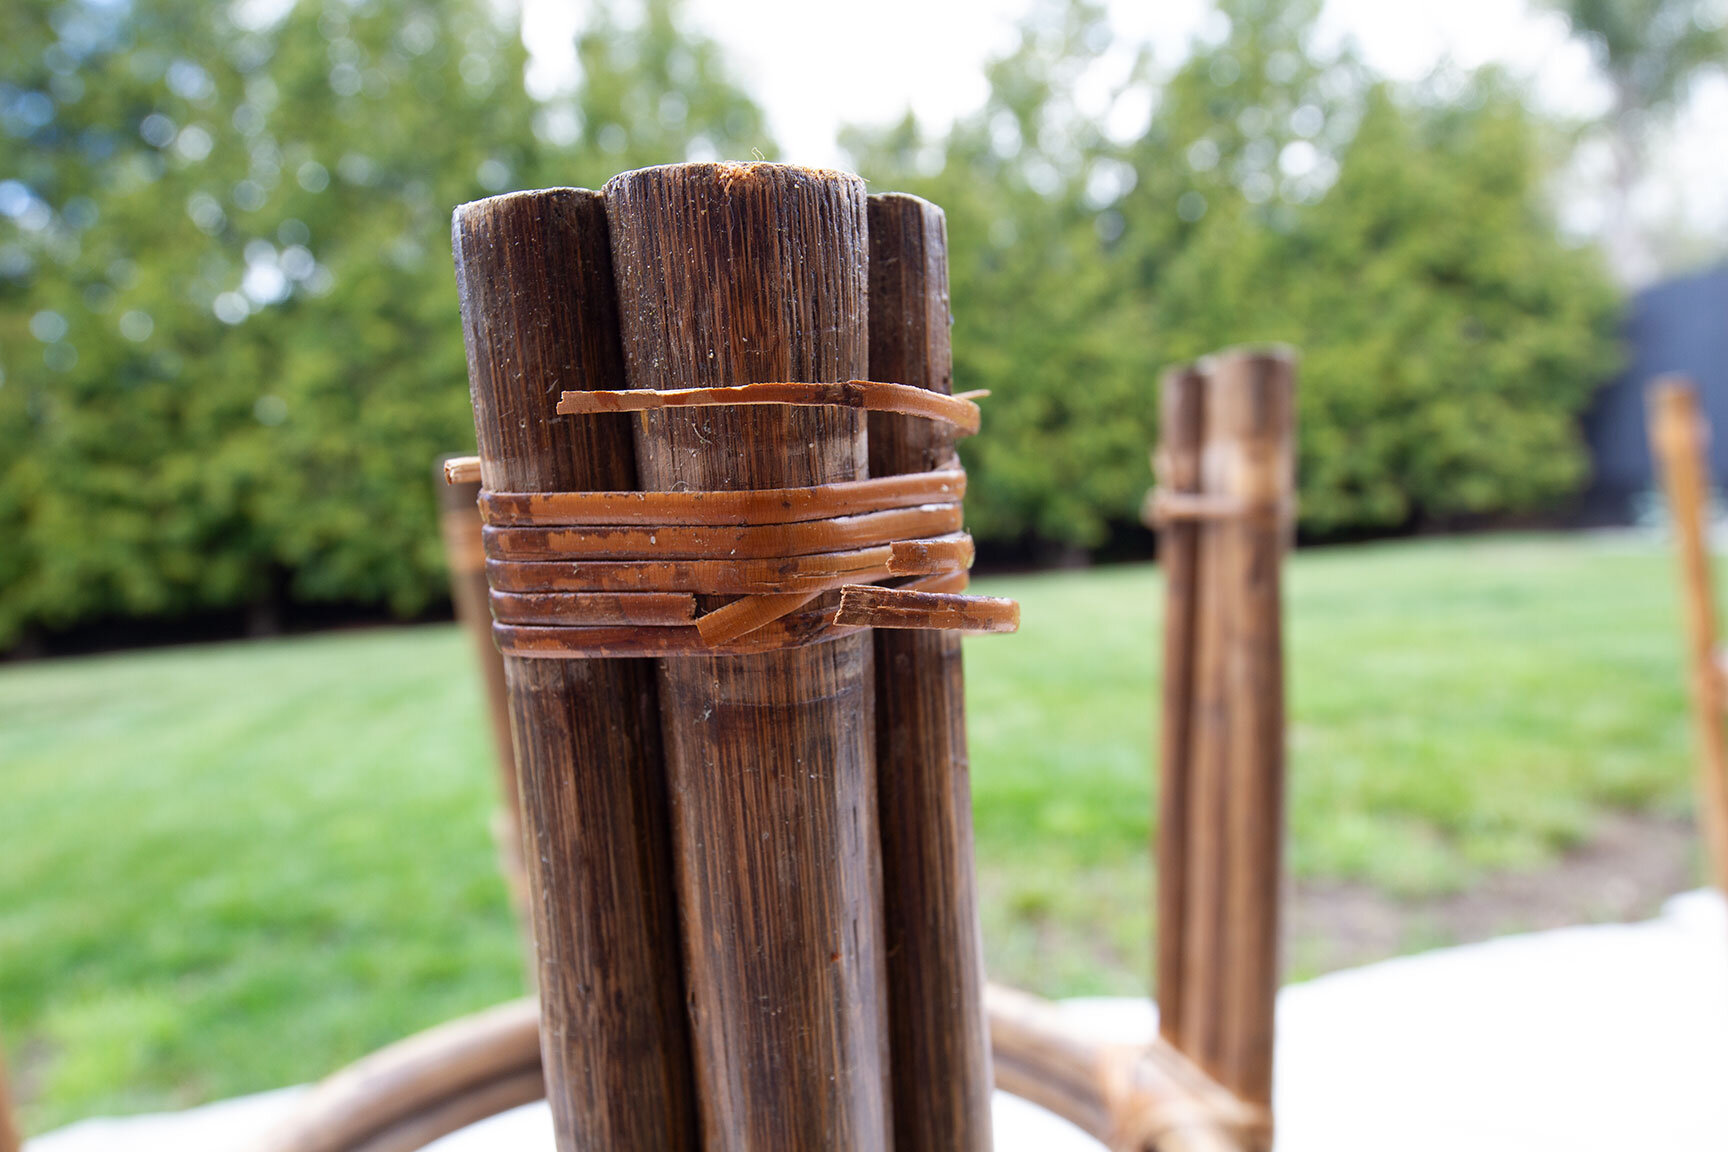
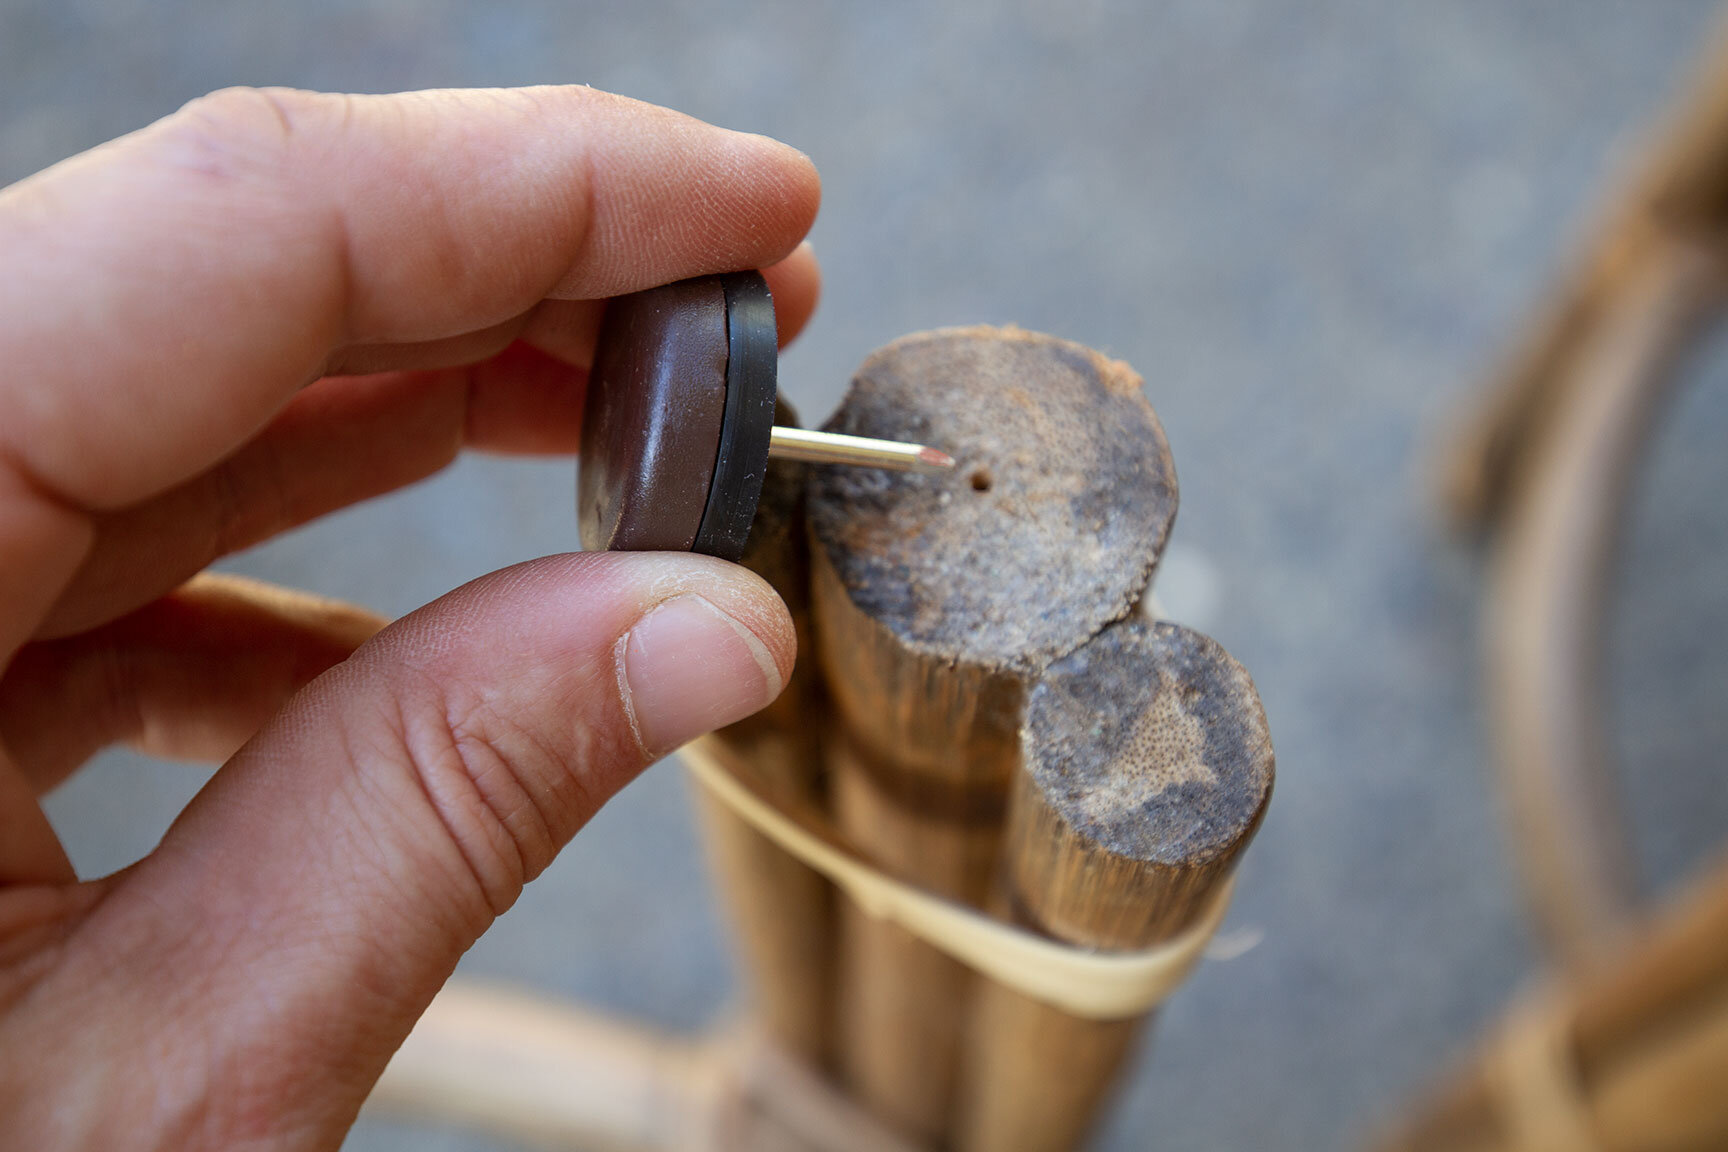
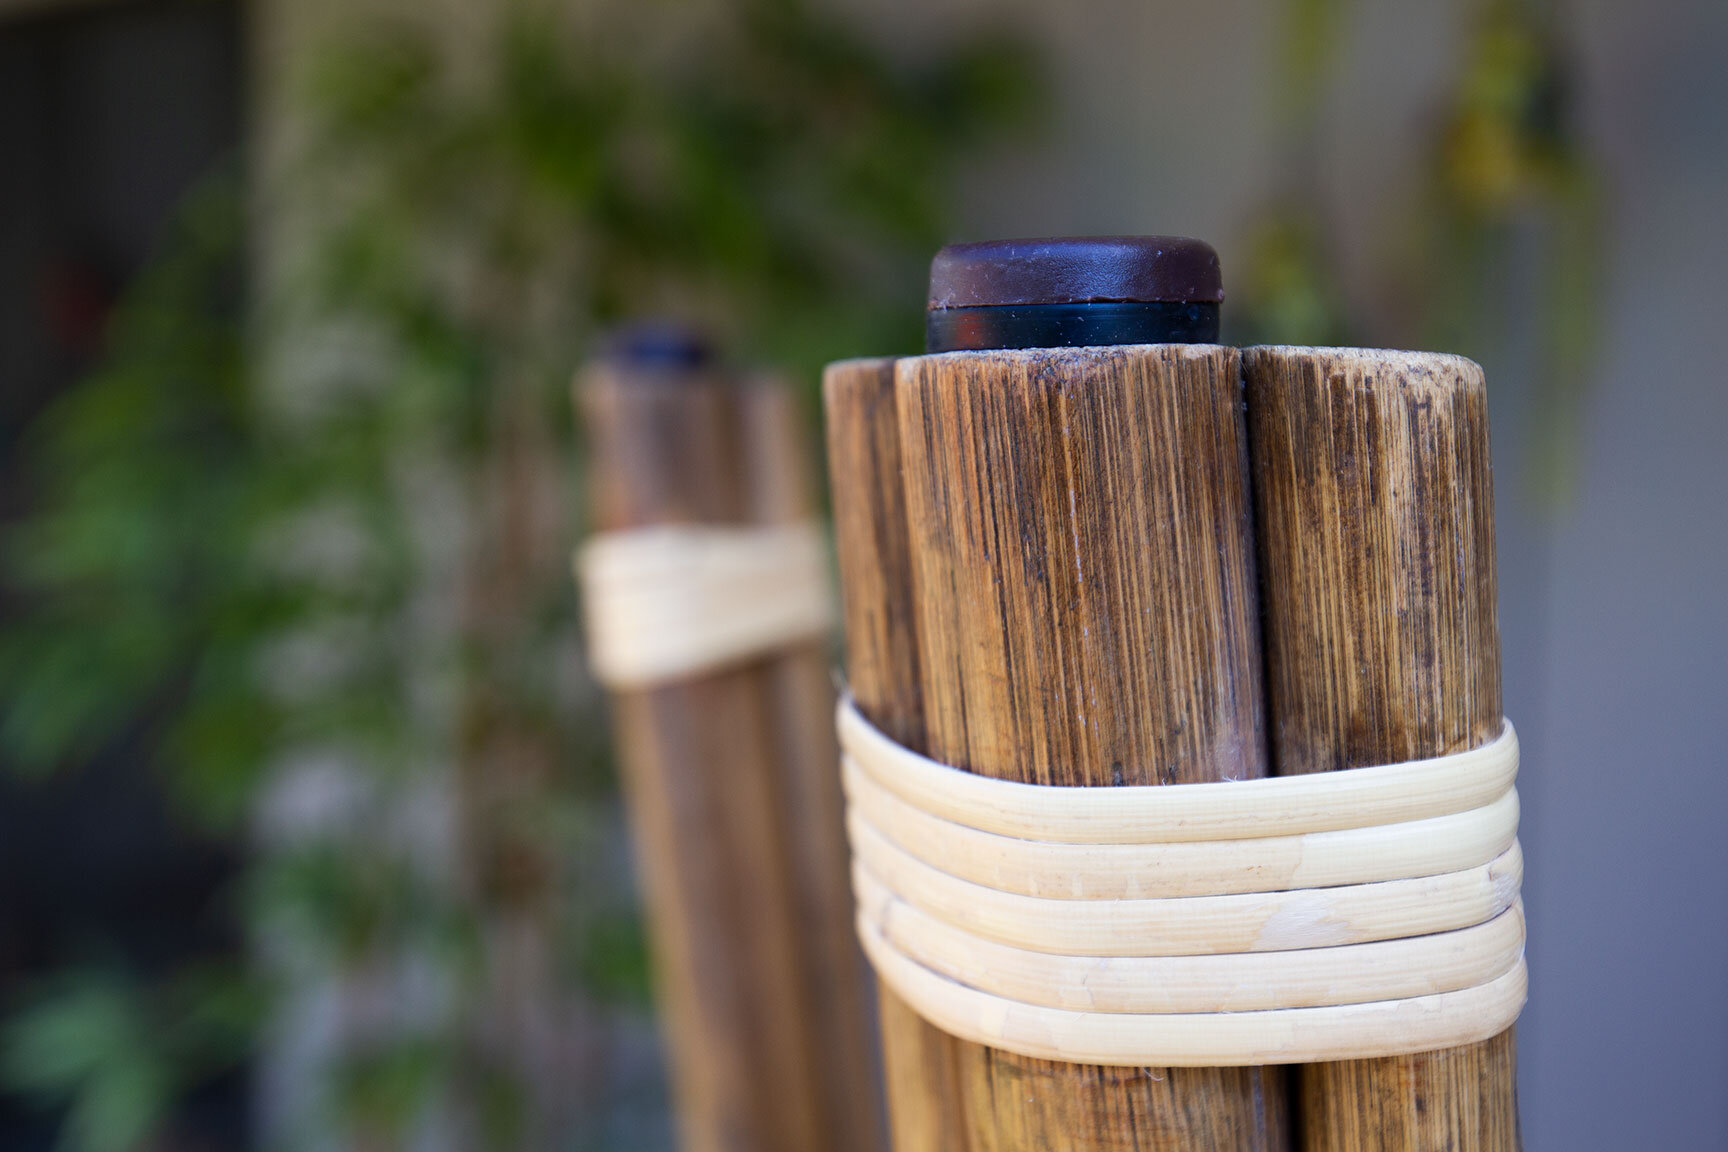
Like the bar, I wanted to keep the stools off the ground to discourage abrasion and rot. I drilled a small pilot hole into the bottom of each leg, and inserted 1” plastic furniture glides. The cane was then wiped with a warm chestnut stain. I also applied this stain to the faded rattan on the stools and bar for a warm, renewed color. Once the stain was dry, I applied 4 spray coats of matte polyurethane for added protection against the elements.
One of the things that initially caught my attention about this bar was the red fabric seat covers. I had intended to keep them as-is, but after just one day in the sun, the fabric had faded considerably. I opted to have new covers made with Sunbrella outdoor fabric to regain the original vibrant pop. Our friends at Casara Modern did an amazing job recreating these beauties. This specific fabric, Bengali Papaya, is a saturated red-orange with a fine yellow fleck that picks up on the golden tones of the renewed rattan.
Bartender’s perspective
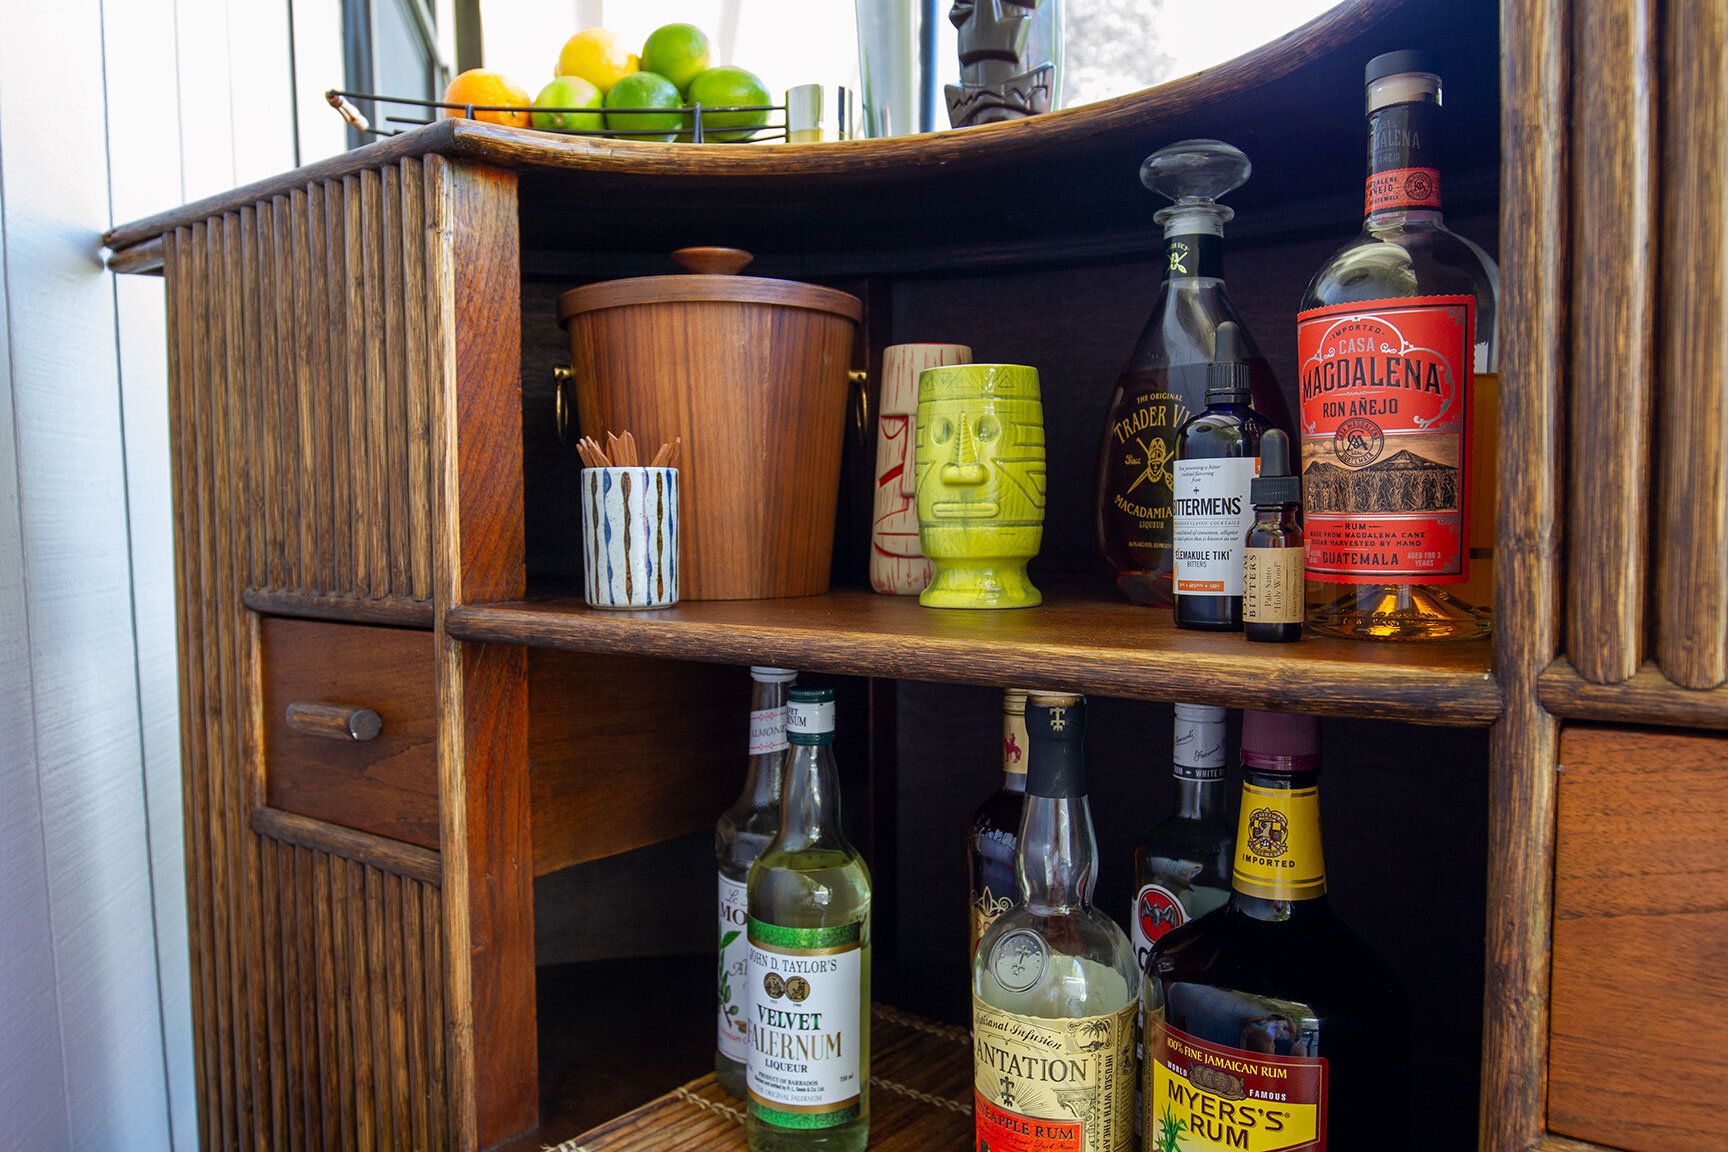
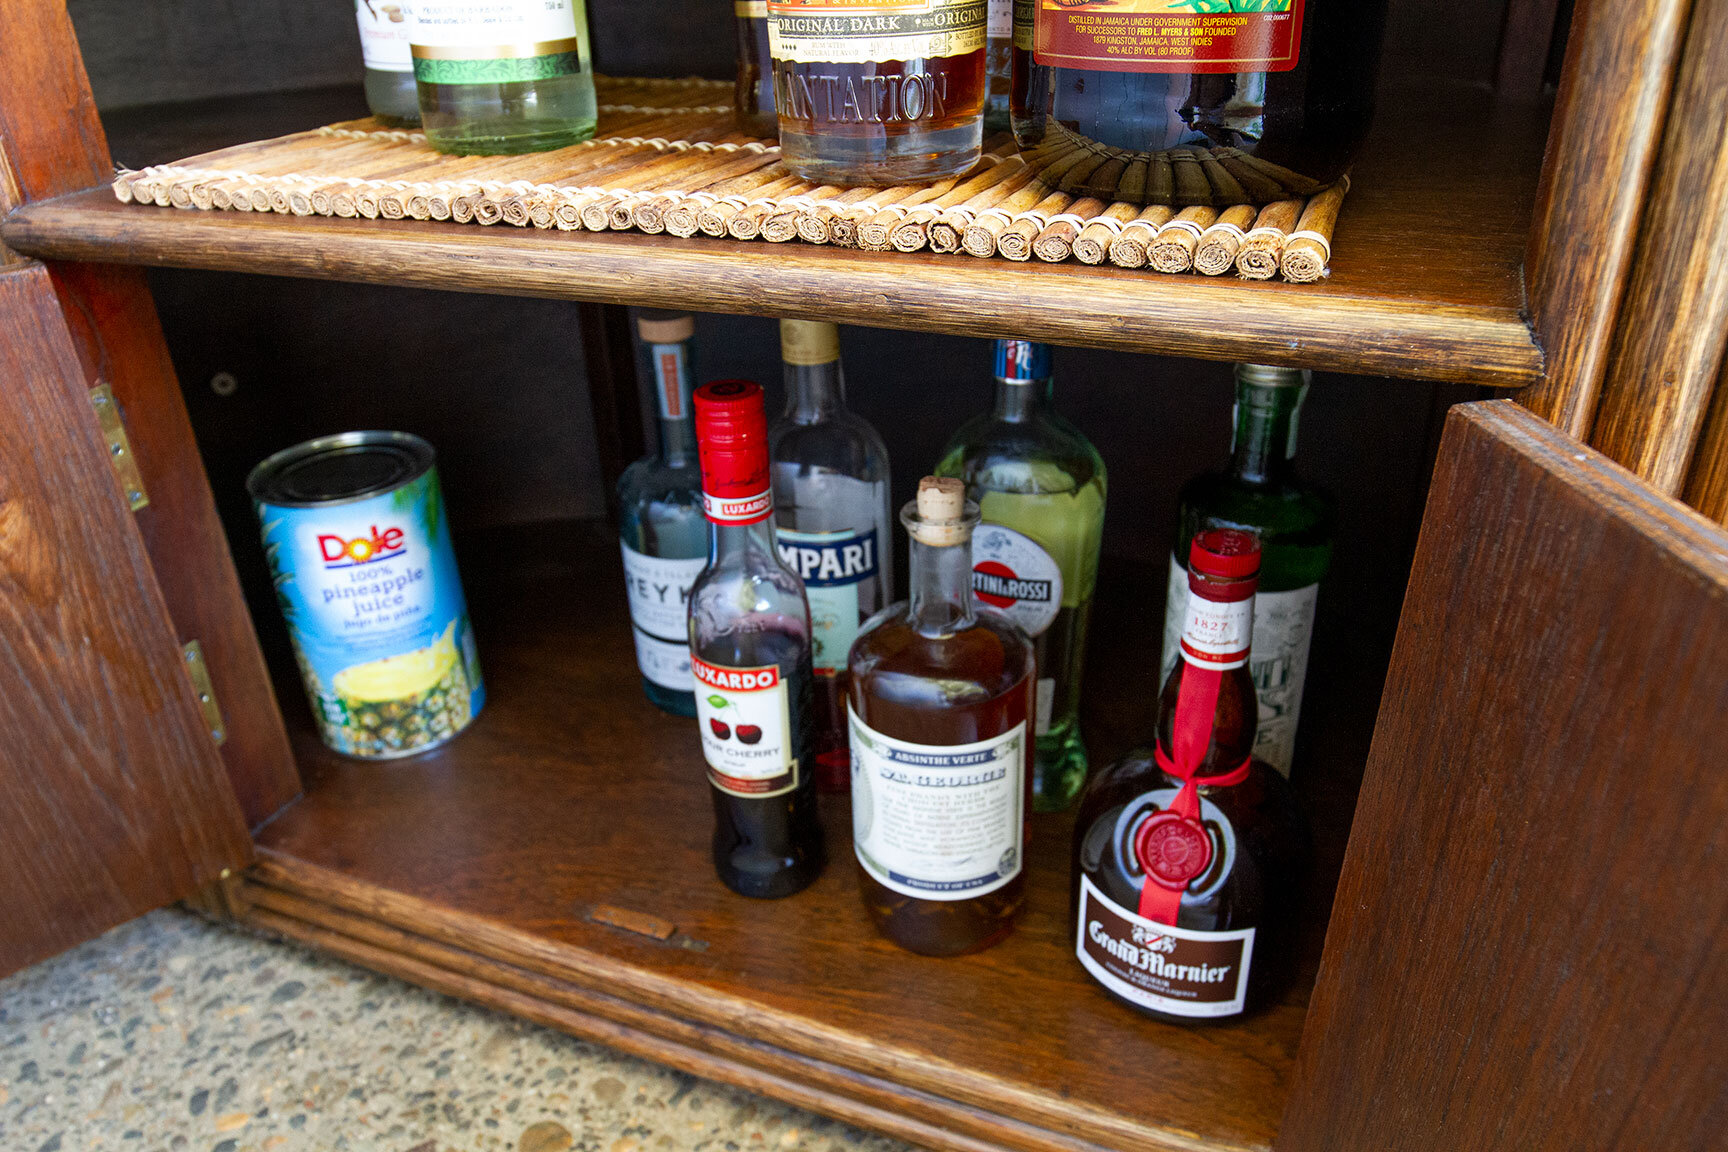
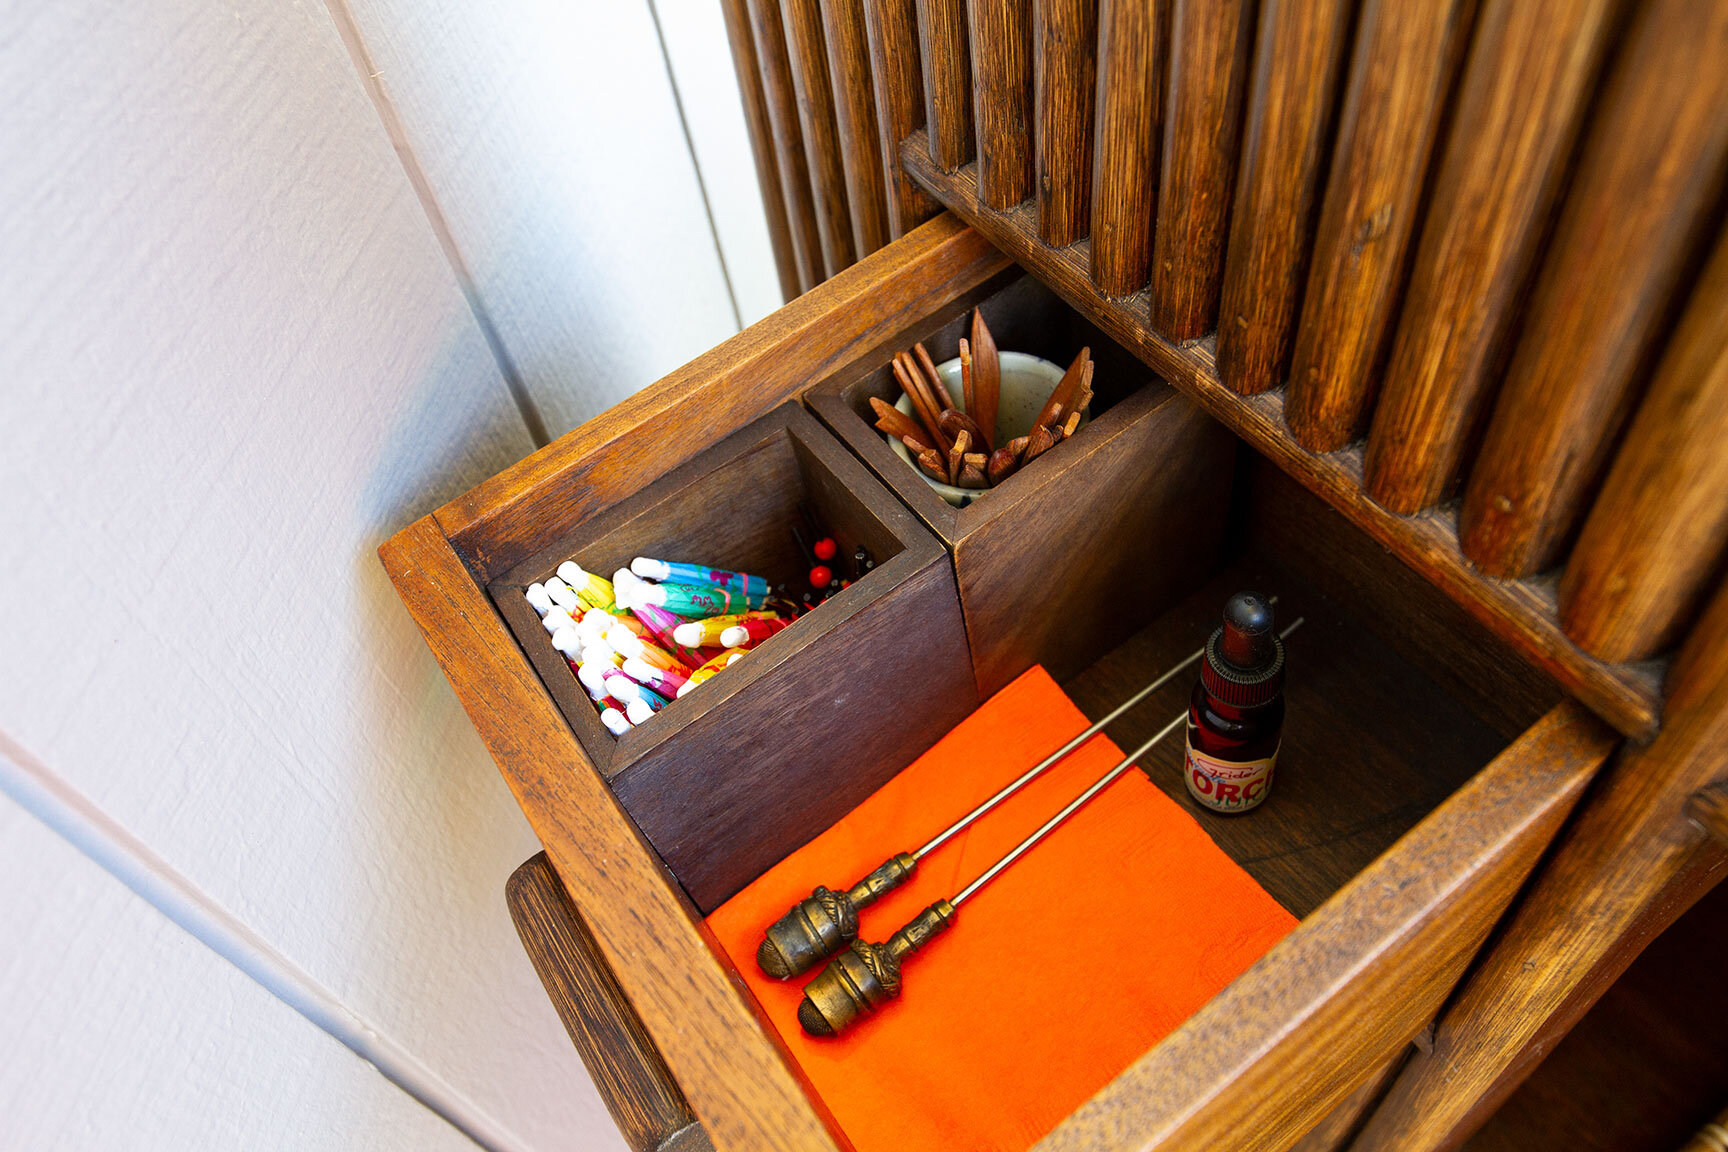
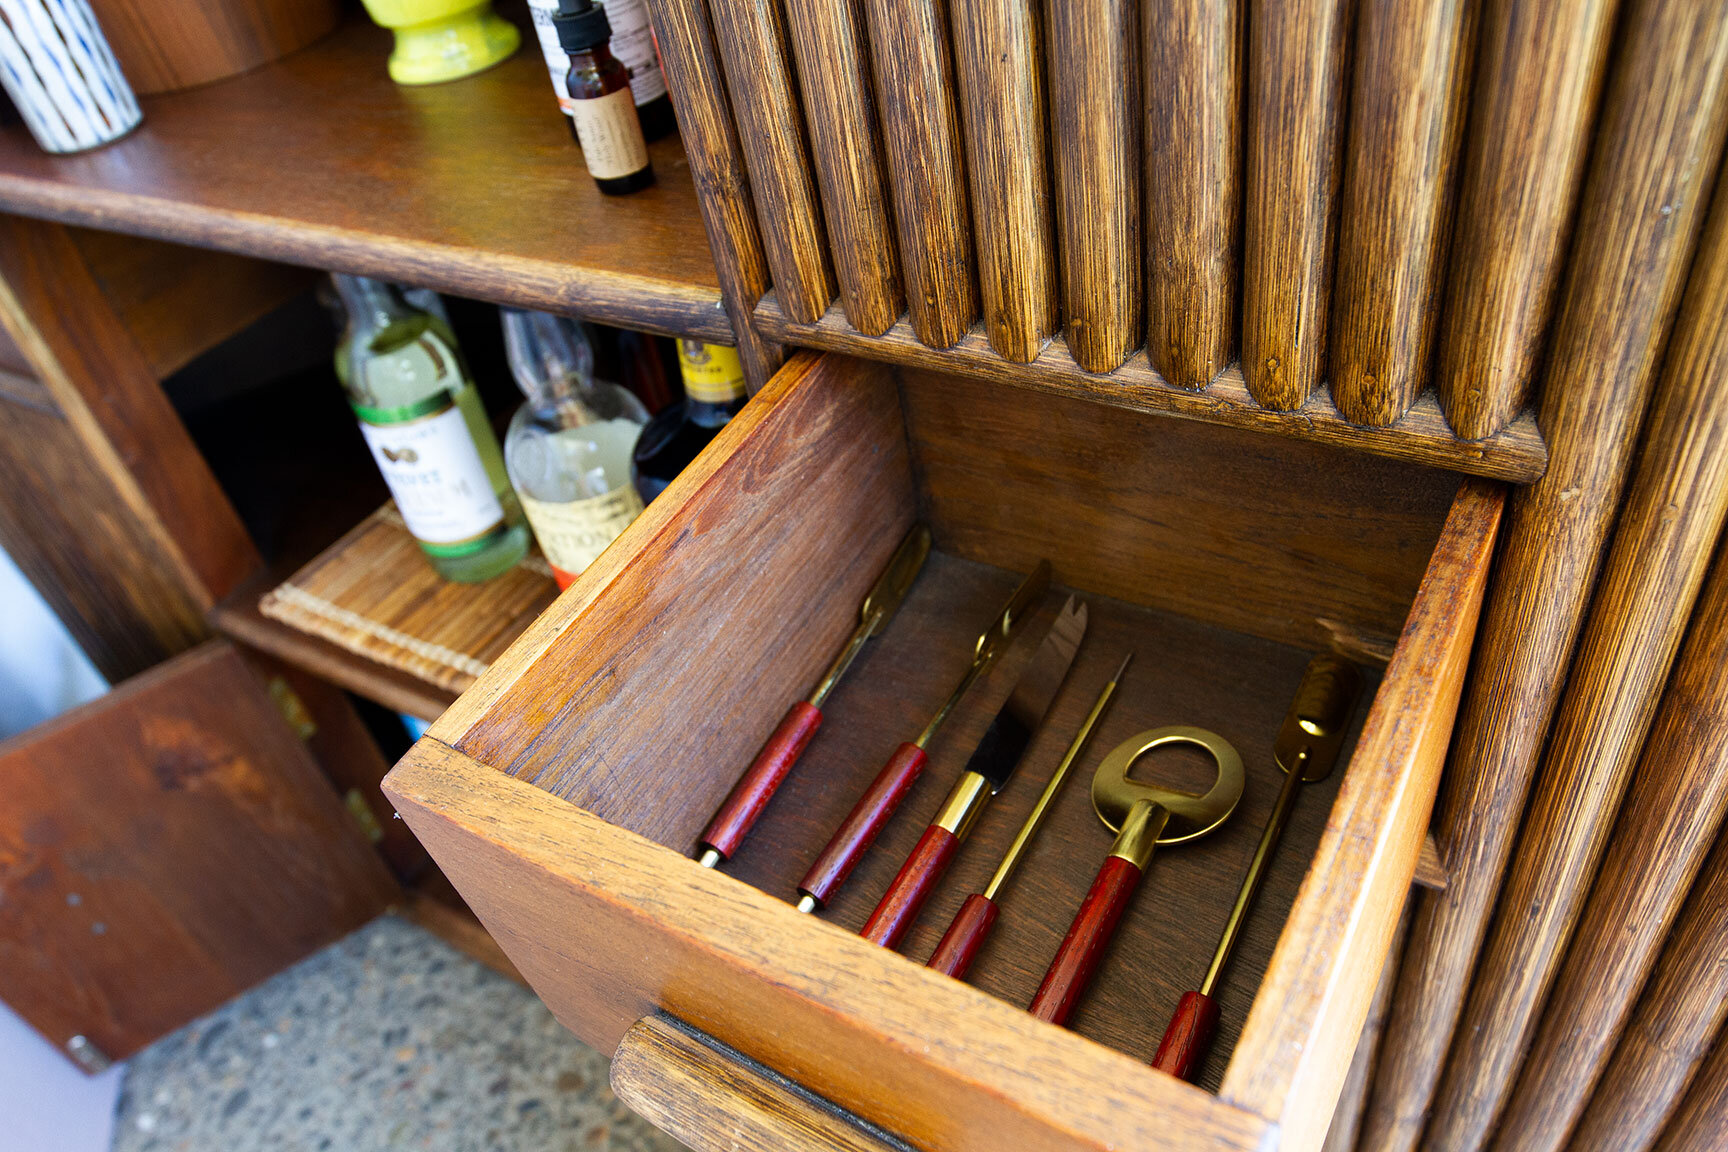
Behind the bar, there is a wealth of space to accommodate bottles, ice buckets, and all the fancy syrups, garnishes, and fixings needed to make those elaborate tiki drinks. Two open shelves provide ample storage. A lockable cabinet sits at the bottom, also spanning the entire width of the bar. Handy drawers flank each side, which hold various bar tools, cocktail picks, napkins, and all the paper umbrellas any tiki mixologist could need.
“Sophisticated, mid-century Asian style with a touch of Polynesian playfulness”
This tropical addition is a glimpse of where the backyard is headed — sophisticated, mid-century Asian style with a touch of Polynesian playfulness. So far, bartending at this setup is quite a thrill. Its revived appearance draws patrons in, keeping them curious as to what cocktail might be crafted. With well-stocked shelves, a variety of unique mugs, and a long list of favorite recipes, adventure awaits for those who seek it! Here’s to getting back to social gatherings and drinks around the tiki bar. Enjoy one of my favorite concoctions with the recipe below to get the summer vibes flowing. Cheers!
Island Baby
Prep: 5 min. | Serves: 1
INGREDIENTS:
1.5 oz. white rum
1 oz. sake
1 oz. mango puree
1 oz. pineapple juice
1/2 oz. lychee juice
Li hing mui powder
Fresh mango slice
DIRECTIONS:
Add rum, sake, mango puree and juices to mixing glass with a few ice cubes. Stir to chill. Strain into snifter rimmed with li hing mui powder. Garnish with fresh mango on skewer. Enjoy a taste of the islands!


